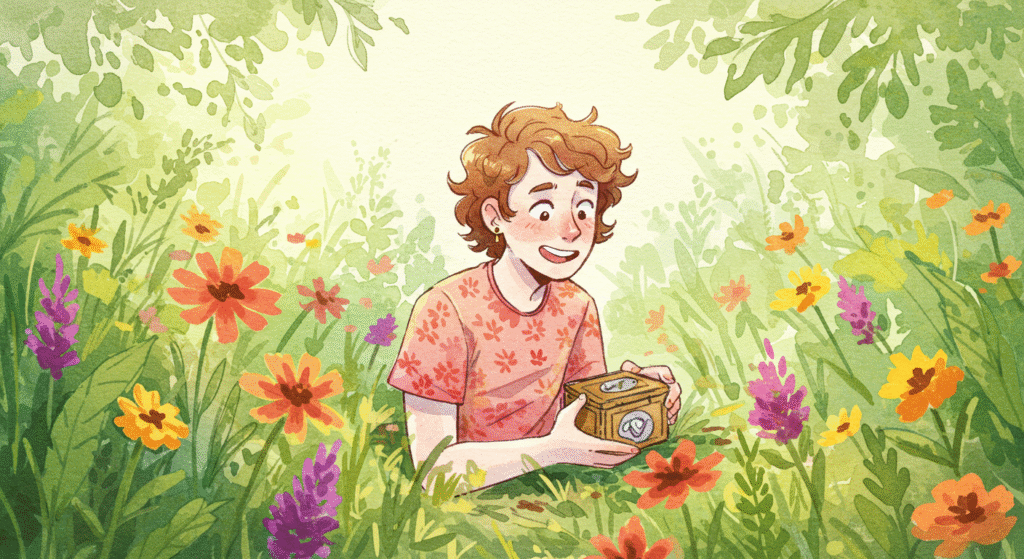
Finding your first geocache is a thrill—but hiding your own? That’s when you truly join the adventure. Placing a geocache is your chance to give back to the community, create a memorable experience for other players, and add your own mark to the global treasure hunt.
However, hiding a geocache isn’t as simple as dropping a container under a rock. A successful hide requires thought, creativity, and respect for the environment and the game’s guidelines.
If you’ve been wondering how to hide your first geocache the right way, this guide walks you through every step—from planning to publication.
1. Understand the Basics Before You Hide
Before placing your first cache, it’s essential to understand what geocaching is all about. Every cache has a few things in common:
- A container (to protect the contents)
- A logbook (for finders to sign)
- Coordinates (to lead others to the location)
- A listing on Geocaching.com or the official Geocaching® app
If you haven’t found at least 20–25 caches yourself, start there first. You’ll gain valuable insights into what makes a cache enjoyable, challenging, or frustrating—and how to avoid common mistakes.
2. Choose a Meaningful Location
The best geocaches tell a story through their location. Maybe it’s a scenic overlook, a historic site, a favorite park, or a hidden urban nook. When choosing a spot, ask yourself:
- Why would someone want to come here?
- Is this location safe and accessible?
- Will the cache be protected from weather and muggles (non-geocachers)?
Avoid private property unless you have explicit permission. Likewise, respect all “no trespassing” signs, and avoid sensitive ecological areas where foot traffic could cause damage.
Pro Tip: Look for a location that’s unique, memorable, or has a bit of mystery—something that gives finders a “wow” moment.
3. Follow Geocaching Placement Guidelines
Geocaching.com has strict placement rules to ensure safety and fairness. Key guidelines include:
- Minimum Distance: Caches must be at least 528 feet (161 meters) apart from other active caches.
- Permission: You must have permission from the landowner or land manager.
- Safety: Avoid dangerous or restricted areas (railways, schools, military zones, etc.).
- Respect Nature: Never bury caches or damage property to hide one.
- Accessibility: Think about who might find it—families, kids, or experienced cachers.
Before hiding, check the Geocaching map online to make sure the area isn’t already saturated.
4. Select the Right Container
The container is one of the most critical elements of a good hide. It needs to be durable, waterproof, and size-appropriate for the location.
Here are common types of cache containers:
- Micro (Film Canister or Magnetic Tube) – Great for urban hides and small spaces.
- Small (Lock & Lock, Tupperware) – Fits a logbook and small trade items.
- Regular (Ammo Can, Plastic Box) – Ideal for larger swag and travel bugs.
- Creative Containers – Fake rocks, birdhouses, or camouflaged props for extra fun.
Avoid cheap or fragile materials that won’t hold up in the weather. Always label your cache clearly with “Official Geocache – Please Do Not Remove” and include a short explanation for curious non-players.
5. Prepare the Contents
Inside your cache, you’ll need:
- A logbook (small notebook or waterproof paper)
- A pen or pencil (optional but appreciated)
- Swag items for trade (optional)
- A note to explain geocaching for anyone who stumbles upon it
Avoid putting anything that melts, rots, leaks, or has strong scents. (That means no food, candles, liquids, or perishables.)
If you’re feeling creative, include a small theme—like ocean trinkets, superheroes, or local flair—to make it memorable.
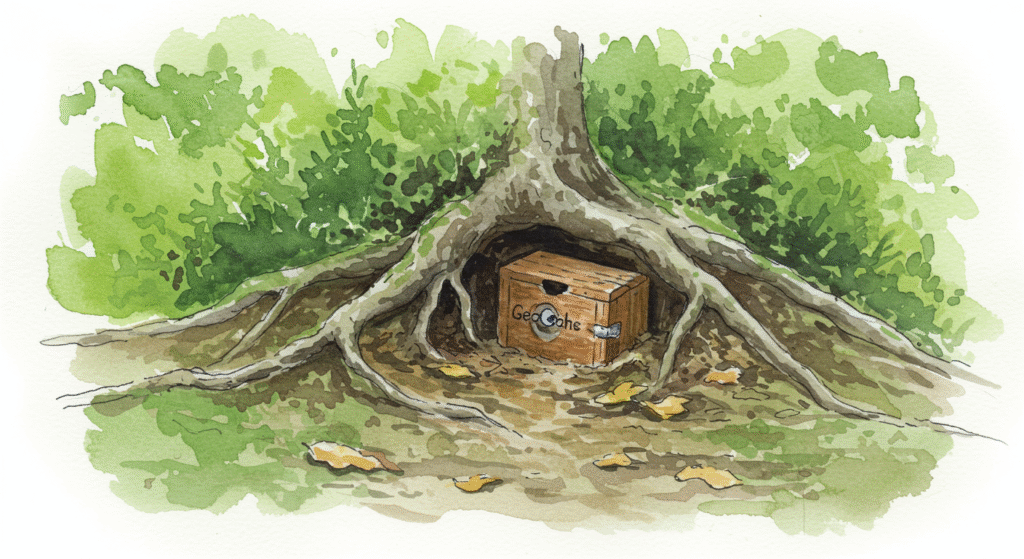
6. Hide It Thoughtfully
Now comes the fun part—actually hiding your geocache!
Here are some best practices:
- Hide, don’t bury. Caches must never be buried, even partially.
- Camouflage smartly. Use natural materials to disguise the cache but don’t alter the environment.
- Think about longevity. Avoid spots prone to flooding, vandalism, or seasonal closures.
- Be discreet. Avoid drawing attention while placing the cache to keep it safe from “muggles.”
Once hidden, make sure you can describe the location clearly enough for your listing but without giving away spoilers.
7. Record Accurate Coordinates
Accurate coordinates make or break a cache. Use your GPS or smartphone to mark the location:
- Stand directly at the hiding spot.
- Let your GPS stabilize for 30–60 seconds.
- Record the coordinates multiple times and average them.
- Double-check by walking away and navigating back to ensure accuracy.
Poor coordinates are one of the top complaints about new caches—take your time to get them right.
8. Write a Great Cache Description
Your cache listing tells the story of your hide and helps other geocachers know what to expect.
Include:
- A catchy title (something memorable or themed)
- A brief story about why you chose the location
- Cache size, terrain, and difficulty ratings
- Parking or trailhead info if needed
- Any special tools required (TOTT)
You can also include fun hints or riddles, but make sure they don’t spoil the find entirely.
9. Submit for Review
Once you’ve written your description and double-checked your coordinates, it’s time to submit your cache for review on Geocaching.com.
A volunteer reviewer will check for rule compliance, location conflicts, and content guidelines. This process can take a few days, so be patient.
If your cache doesn’t meet the requirements, your reviewer will explain why and how to fix it. Treat this as a learning experience—every cacher goes through it!
10. Maintain Your Cache
Owning a geocache is an ongoing responsibility. Once it’s published, your job isn’t done.
Plan to:
- Check on your cache periodically for damage or missing parts
- Replace wet or full logbooks
- Respond to “Needs Maintenance” or “Needs Archived” logs
- Monitor logs for feedback and fun stories from finders
Think of your cache like a little project in the wild—it needs occasional care to stay alive.
Pro Tips for a Great First Hide
- Start simple. Don’t overcomplicate your first hide.
- Think like a finder. Would this hide make sense and feel rewarding to you?
- Add creativity. A clever container or scenic location elevates the experience.
- Keep it safe. No risky climbs or dangerous terrain.
- Enjoy the logs. Reading the stories from people who find your cache is one of the best parts!
Conclusion: Give Back to the Game
Hiding your first geocache is a milestone—it transforms you from a seeker into a creator. By choosing a thoughtful location, crafting a well-made container, and following guidelines, you’ll create something that brings joy to others for years to come.
Remember: every great cache started as someone’s first hide. So get out there, plan carefully, and make your mark on the map.
Happy hiding—and may your cache become a favorite among finders!